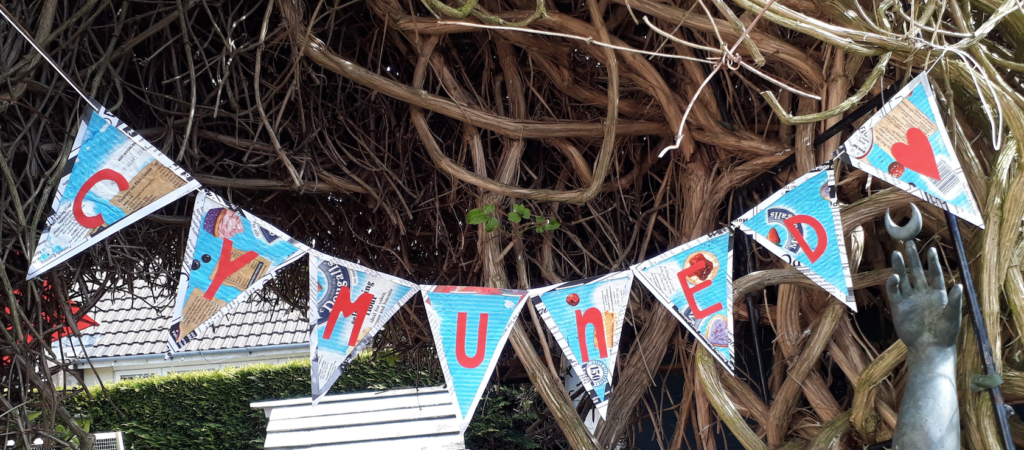
A Tiny Revolution from our ambassador in North Wales, Bethan Page.
You will need:
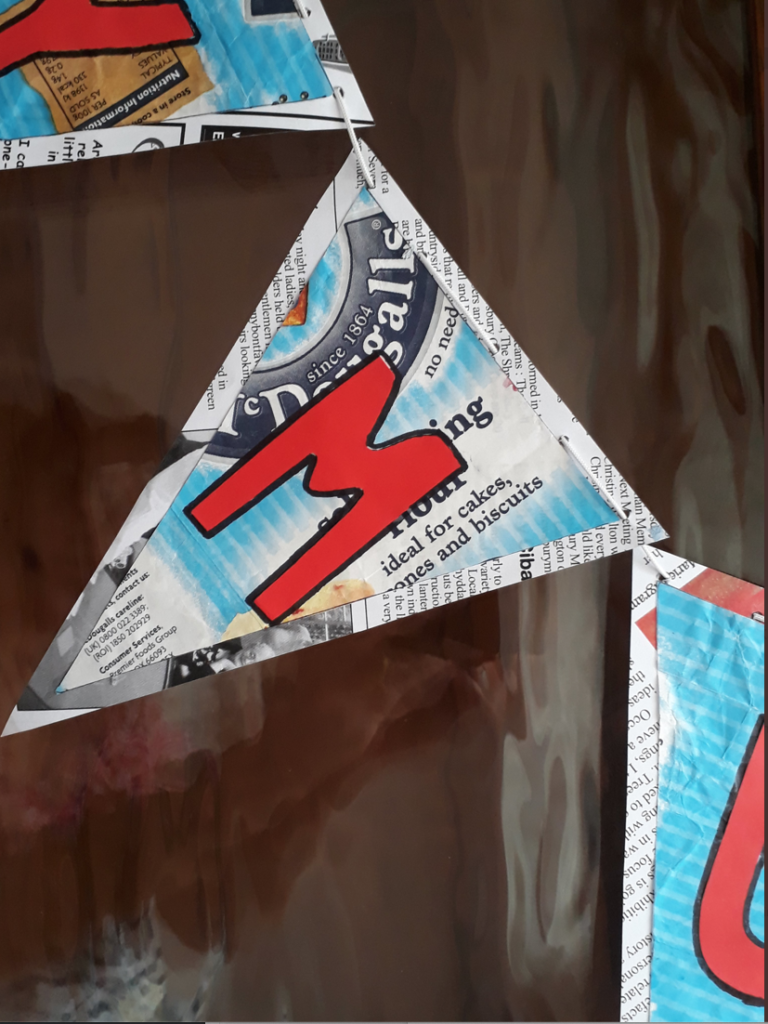
- An empty flour bag or other patterned paper
- A similar sized piece of paper with plain or light colours to use as backing paper (strong colours or designs may show through)
- Cardboard – a cereal box is ideal
- Scraps of coloured paper, paints or pens to decorate your bunting
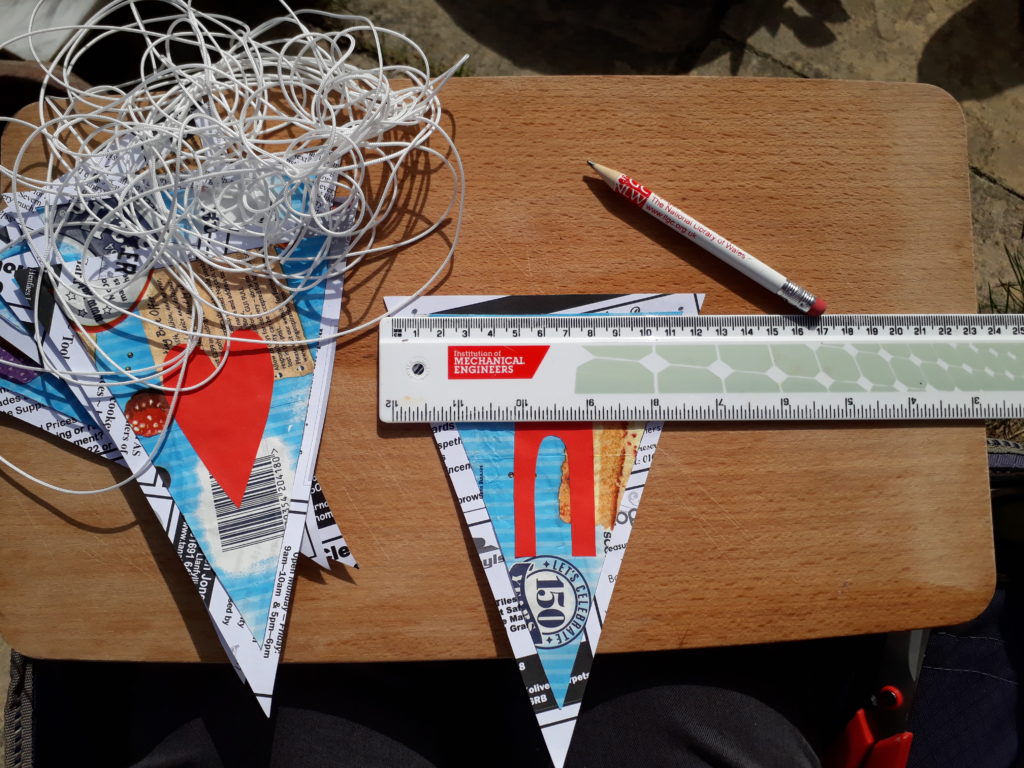
- Scissors, a ruler, a thick sharp needle, a sharp pencil, a glue stick
- String or wool – don’t cut it to size until right at the end
- Drawing pins or tape to hang your bunting OR
- An envelope and/or stamp to post or deliver your bunting to someone!
1. Make a cardboard template for your bunting triangles. To help you decide on a size, fold a piece of A4 paper in half several times, and when you unfold it draw triangles on the different sized rectangles. Choose your size and cut a cardboard triangle this size from your cereal box.
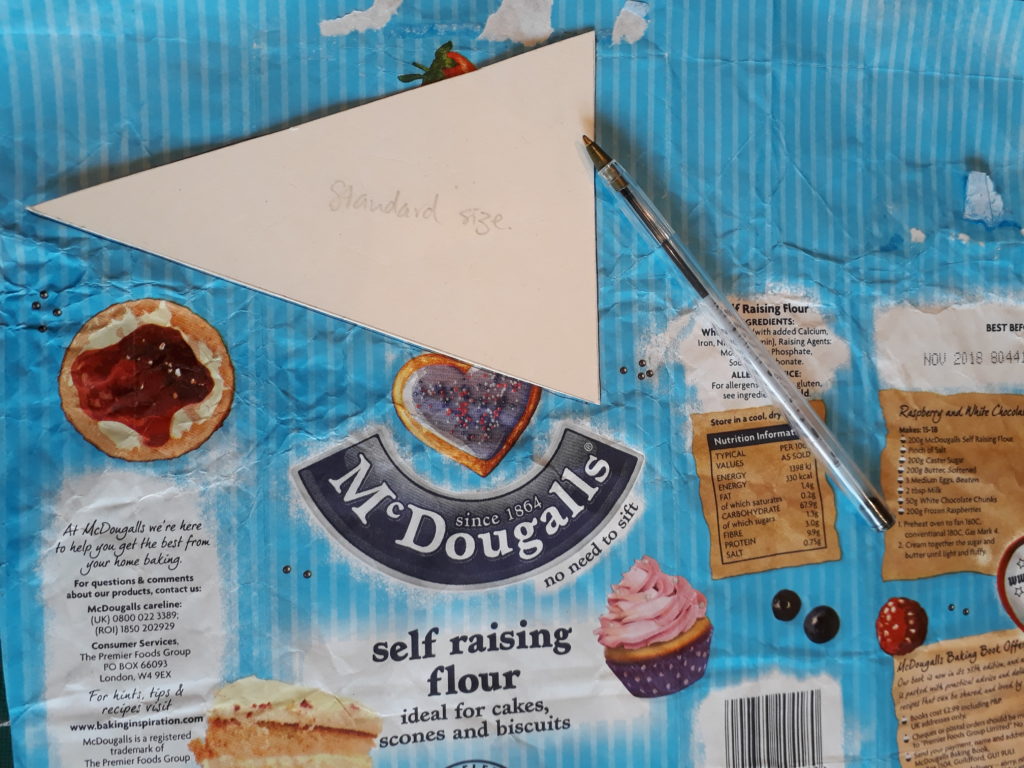
2. Cut along the seams/joins in your flour bag to make a flat piece of paper. Iron the paper in a folded tea towel (to keep your iron clean), to get rid of the creases.
3. Use your cardboard template to draw triangles on your flour bag. (Try and notice where some of the best patterns are and make sure you get them in a good place on your triangles). Cut the triangles out.
4. Glue the triangles onto your second piece of paper and cut them out – you now have a double thickness of paper which is stronger and looks better.
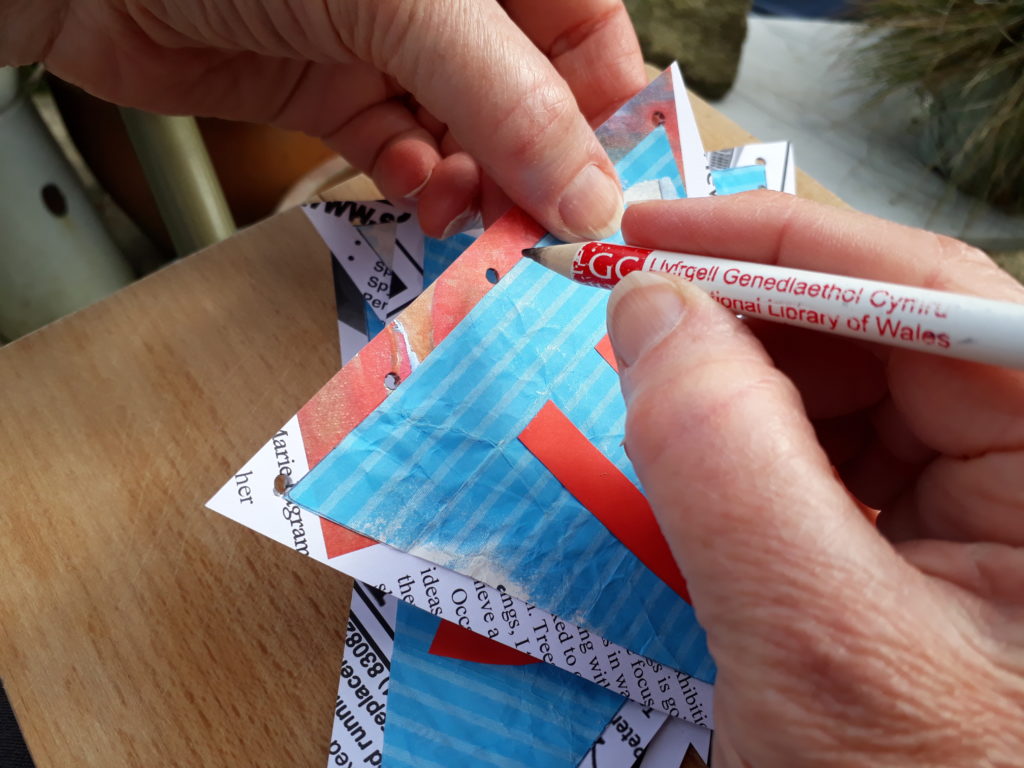
5. Using a ruler and a pencil, mark a row of dots at regular intervals, approx. 1 cm from the top of each triangle. These are the positions of the holes through which you will thread string or wool. An odd number of holes results in a neater appearance.
6. Make a hole at each of these positions with the sharp, thick needle. Using your sharp pencil, increase the size of these holes very carefully, working from the front and back of the triangle. This makes it easier to thread your string through the holes.
7. Thread the string through the holes and pull the triangles along gently until you’re happy with the result. Now you can cut your string to the required length.
8. Add to your bunting with paper shapes, paint, pictures or writing.

9. Hang your bunting or give it away!
We’d love to see a photo of your bunting if you’d like to share it!
we are also happy to print & send to you – contact us here